 What do I do to start monitoring attributes in my room(s) in Crestron Fusion®?
The RoomView® Monitoring section of Crestron Fusion® is the centralized hub for room management and monitoring activities. In this section you can:
Preview and respond to critical error alerts and help requests
View room status and monitor room activity
View attribute status and control devices
What do I do to start monitoring attributes in my room(s) in Crestron Fusion®?
 Follow the steps below:
Navigate to the RoomView® Monitoring
area of Crestron Fusion®
by clicking Open on the Fusion Header Tab:
and selecting RoomView® Monitoring
Select a room or a node to monitor in the Room Tree pane on the left.
Click the Rooms tab
on the main interface:
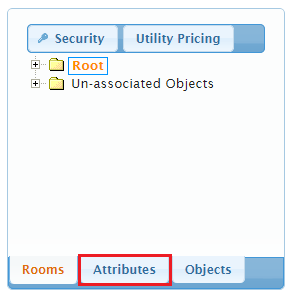
If desired, select a custom attribute node by clicking on the
Select Attributes drop down
box and choosing relevant attribute node.
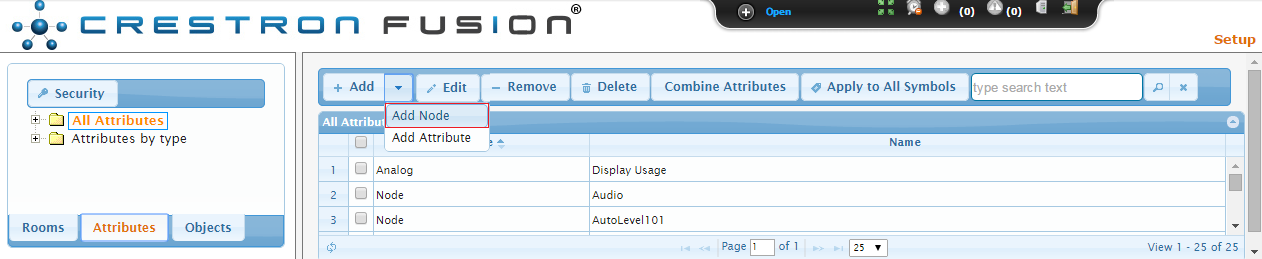
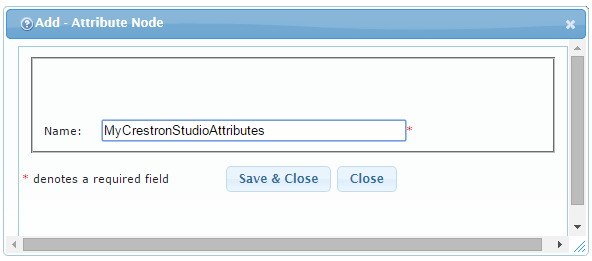
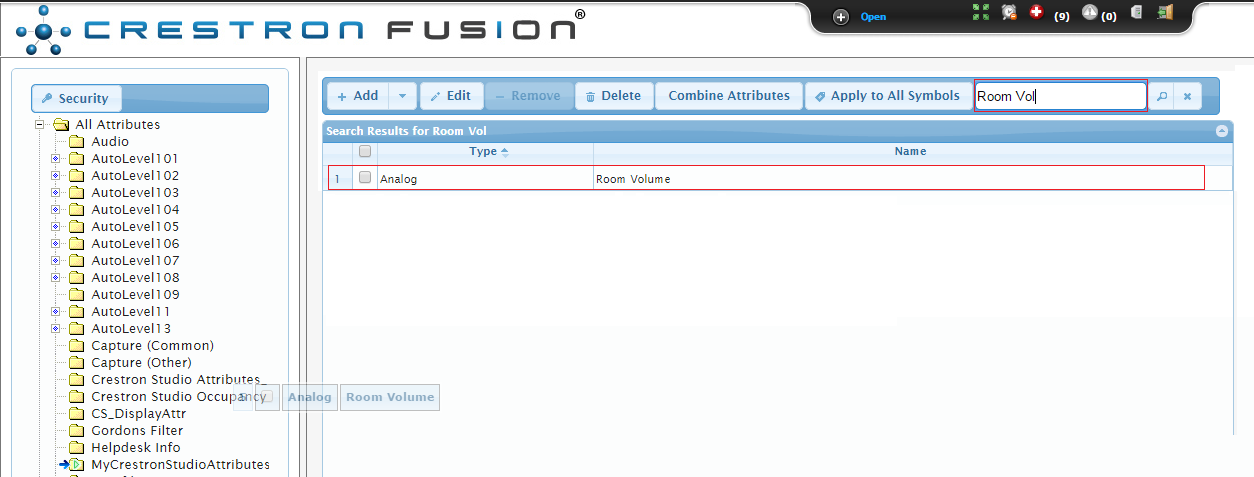
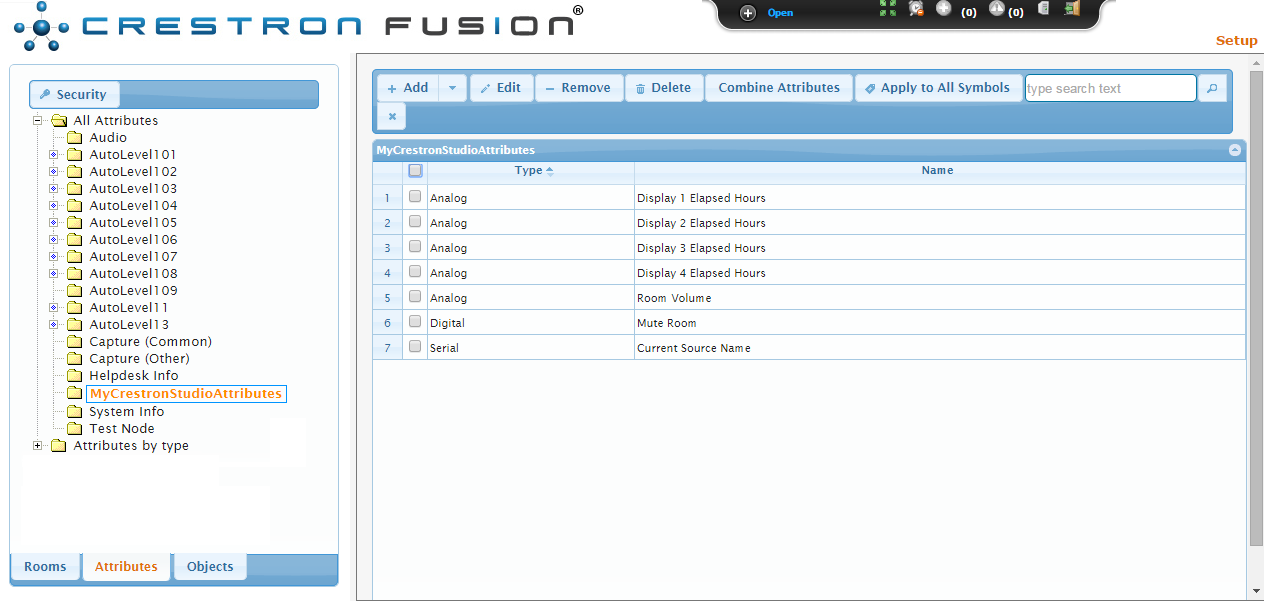
Crestron recommends  creating
a custom attribute node (a subset of attributes)
for the Crestron Studio®
room attributes before attempting room monitoring and control. Using
an attribute node effectively limits the number of displayed room
attributes allowing you to focus only on the attributes pertaining
to the task at hand.
creating
a custom attribute node (a subset of attributes)
for the Crestron Studio®
room attributes before attempting room monitoring and control. Using
an attribute node effectively limits the number of displayed room
attributes allowing you to focus only on the attributes pertaining
to the task at hand.
Overview of the status of the attributes (using a custom attribute
node to show only Crestron Studio®
room attributes) for the selected room(s) is displayed:
How to start controlling Crestron Studio®
room attributes?
Clicking on each room attribute opens a pop-up dialog displaying further
information about the attribute's status.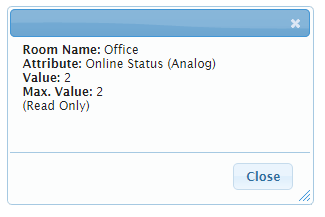
There are two types of attributes:
Status of any two way attributes can be changed directly from Crestron Fusion®. For example,
for analog attributes, such as 'Room Volume' you will be able to enter
a value in the valid value range: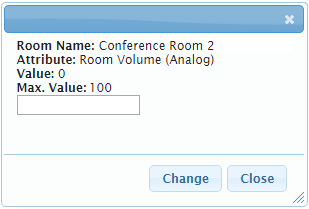
For digital attributes, such as 'Mute Room', you will be able to change
its state to the opposite of the current one (i.e., on/off, etc.).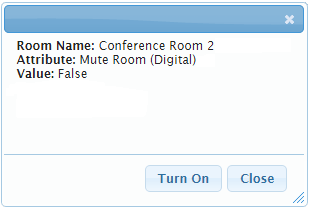
How to monitor assets in Crestron Fusion®
Assets can be monitored collectively or individually. Clicking on the
Assets tab displays an overview
of the status of all assets in a selected room/node.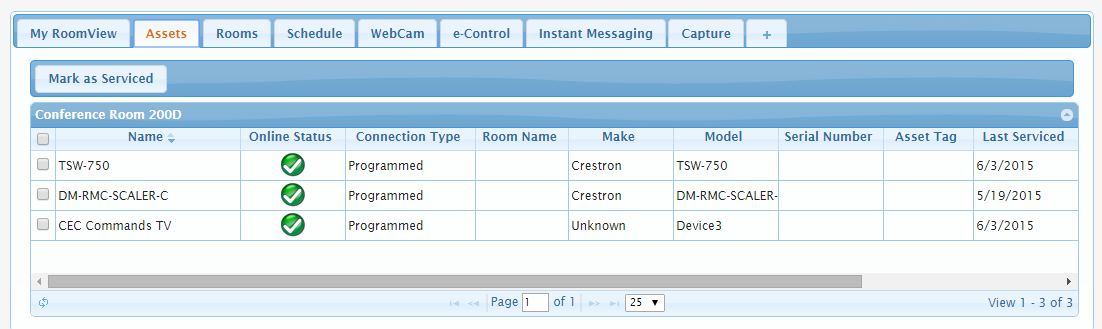
Can I view the status of attributes for a particular asset?
Yes, to view and manage the status of attributes for a selected asset:
Double click on the desired asset in the list of assets for
the selected room/node.
The Asset Details dialog opens.
In the Asset Details
dialog, click on the Status
tab to view the status of all attributes applied to the asset: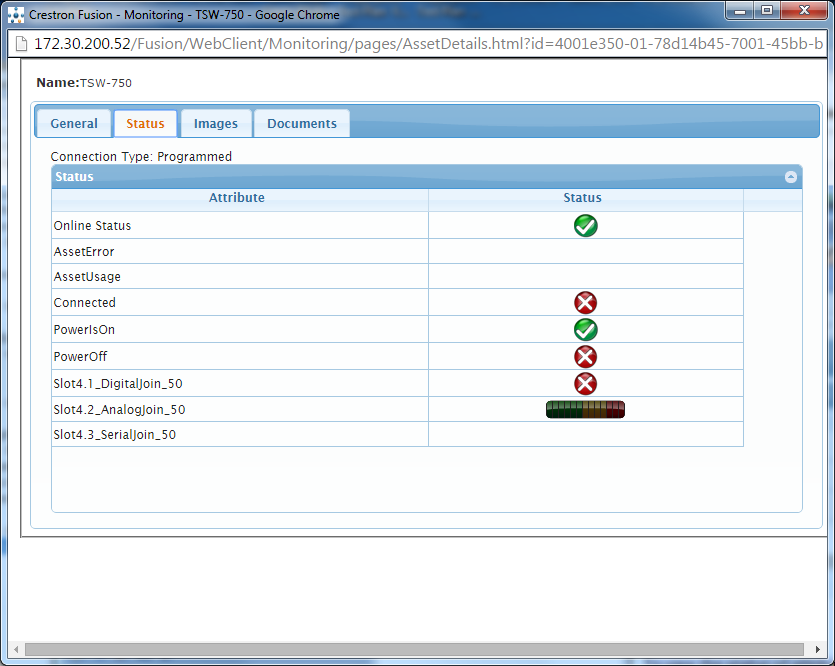
NOTE: For more information about Crestron Studio®
added attributes refer to Custom
Crestron Studio®
Attributes and Existing Crestron Fusion®
Attributes Integrated in Crestron Studio®.
For information about other Crestron Fusion®
attributes refer to the Crestron Fusion®
help file.
Double-click on an attribute to display expanded information
about its status or to change the status (two-way attributes only):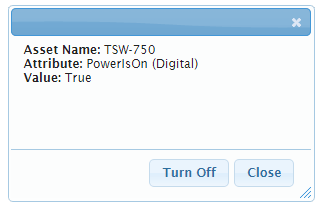
The attribute status indicator icons used in Crestron Fusion® are described in the table below:
| Crestron Fusion® Attribute Status Indicator Icons | What does it mean? |
|
|
Displays the current value for an analog attribute whose value
increases or decreases over time. The meter changes color as the
value changes:
|
|
|
Indicates that the monitored status is OK. Used in Error Status, Help Request, Online Status, and Display Power. |
|
|
Indicates that one or more symbols or assets in a given room - but not all - are offline. |
|
|
Indicates that the asset is offline. Used by Display Power, System Power, and Online Status. |
|
|
Indicate that the asset is experiencing an error. The error severity is as follows:
|
|
|
Indicates that a help request has been received. |
|
|
Indicates the occupancy status of the room:
|




 ,
,  ,
,  ,
,


 ,
, 