Configure the Google Calendar API
In order for Crestron Fusion® software to exchange data with a Google® calendar, the user needs to activate the Google Calendar API and configure security settings.
Activate the Google Calendar API for the Domain
- Using either the Chrome® or Firefox® browser, navigate to console.developers.google.com/project.
- Log in using an administrator account. The Google Developers Console page opens upon successful login.
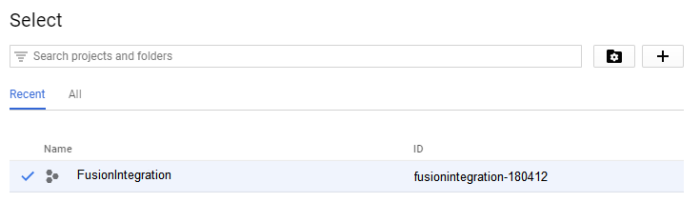
- Use the Select a Project drop-down list to select an API project that will be used to integrate Crestron Fusion with Google Calendar.
- If no projects are shown, select Create project to open the New Project form.
- Enter a project name in the Project name field and then select Create.
- If a project is not displayed, select the Search projects and folders drop-down list and select the project name.
- Select the link in the upper left-hand corner to activate the Google Calendar API and to open the Google Developers console.
- Select the API Manager link to open the API Manager page. The API Manager turns on the Google Calendar API.
- Select the Calendar API link to enable the API.
- Select Enable to start the Google Calendar API web service. Once the web service is enabled, the button text changes to Disable.
Google Developers Console Page without Loaded Project

Project Loaded
Create a New Project
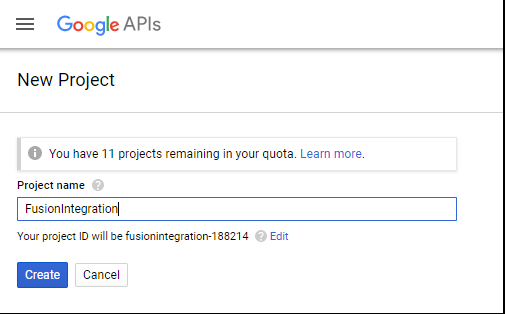
NOTE: An API project needs to be loaded into the Google Developers Console page. When the project is loaded, the project name is displayed in the Project field and in the Select a Project drop-down list.
Console Dashboard After Project Selection

Google Developers Console Menu
API Manager Page

Starting the API Web Service

API Web Service – Enabled

Set Up Security
- Open the Google Developers Console menu using the process described in Activate the Google Calendar API for the Domain.
- Select Create credentials to open the Credentials page. From this page, the user can access the service accounts that Crestron Fusion will use to access the Google Calendar API.
- Select the Service account key link to open the Service accounts page.
- If a service account has not been created or if a service account is needed, select Create Service Account to open the Create service account key form. A service account can now be created for Crestron Fusion.
- Enter a name for the service account in the Service account name field.
- From the Role field, select the Select a role drop-down list and then select Project and Service Account Actor.
- If a service account is already available, move to the next step. Otherwise, select Create Service Account to create a new account and follow the prompts.
- Select the P12 key type and then select Create to open the file download page.
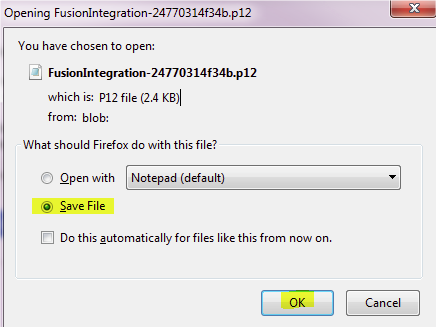
- Select Save File to save the key file in a local storage folder. Note the name of the folder for later use.
- Select OK to open the key creation confirmation form.
- Return to the Service accounts page.
- Select IAM & admin and then select Service accounts.
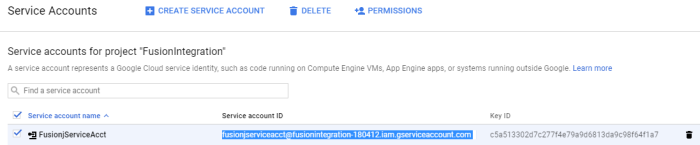
- Note the email address of the service account that Crestron Fusion will use to access the Google Calendar API. The email address is used in a later step.
Create Credentials Link

Credentials Page

Service Accounts Page – Service Accounts Do Not Exist
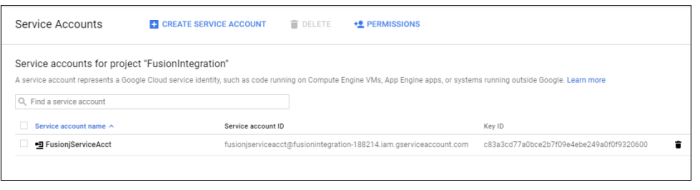
Create Service Account Key Form

Service Accounts Page – Service Accounts List
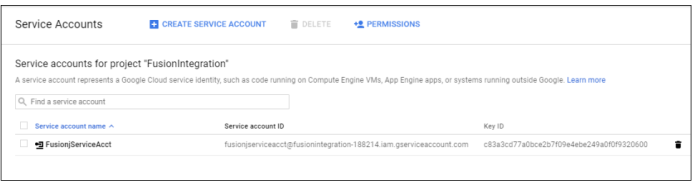
Create Private Key Form
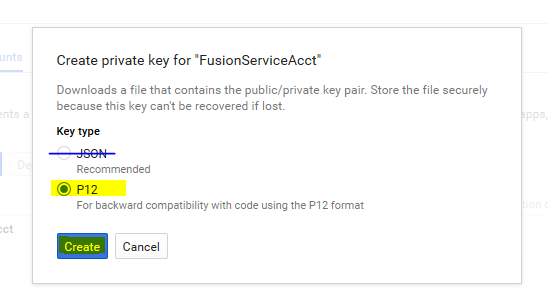
NOTE: The JSON key does not work with Crestron Fusion and should not be used.
Save P12 Key Type File Download Page
IAM & Admin Menu

Service Account Menu Icon
Share Room Accounts with the Service Account
This section provides information on how to share room accounts with the service account.
NOTE: Impersonation can be used (if preferred) rather than sharing accounts. Refer to Appendix B: Use Impersonation in Google Calendar API.
- Navigate to www.google.com using the Google® Chrome® or Firefox® browsers.
- Verify if a green circled icon appears in the upper right-hand corner. If so, select the icon and verify if the current account in use is the administrator account noted in Initial Setup.
- If it is not an administrator account, select Sign out and move to step 3.
- If it is an administrator account, move to step 5 and sign in with your Google account.
- Select Sign in to sign in as an administrator.
- From the list, select the administrator account as noted in Initial Setup.
- From the Sign in with your Google Account section, enter your password and select Sign in.
- Once logged in, select the grid icon to open the Google Application menu.
- Select the Calendar icon to open the Google Calendar application.
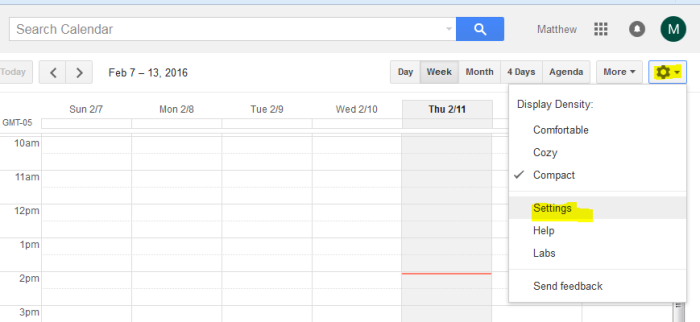
- Select the gear icon, and then select Settings to open the Calendar Settings page.
- Select the Calendars link to view the room calendars.
- Review the room calendars to integrate with Crestron Fusion. There should be a calendar for each physical room to be integrated with Crestron Fusion.
- If no room calendars are shown or more are needed, refer toAppendix A: Create Room Resources for more information.
- To share calendars with the service accounts that Crestron Fusion will use to access the Google Calendar API, complete the steps below for each room calendar to be integrated with Crestron Fusion:
- Select the room name link to open the Room Details page.
- Select the Share this Calendar link to open the sharing area.
- Enter the service account email address (obtained in Set Up Security) into the Person field, from the Share with specific people section.
- Select Make changes to events from the Permission Settings drop-down list.
- Select Add Person. Note down the email address of the room which will be used later in this document.
- Select Save.
Google.com Sign In
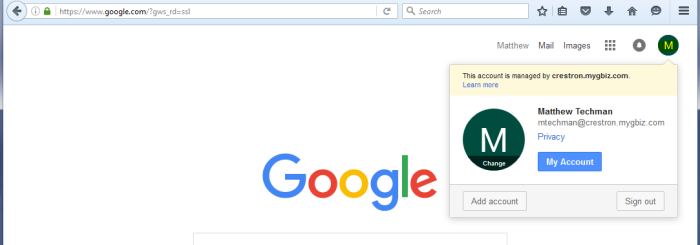
Account Sign In
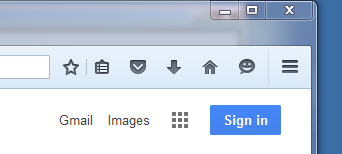
Select an Administrator Account

Account Sign In Screen
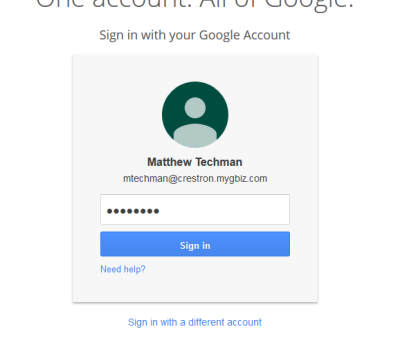
Account Sign In Screen
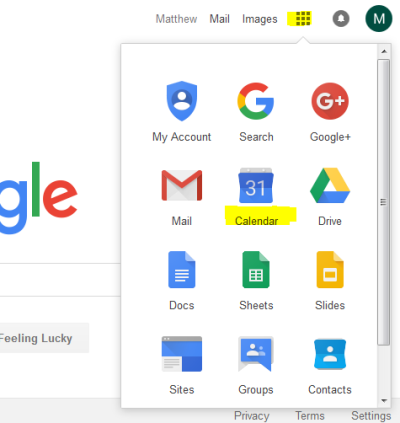
Google Calendar Application
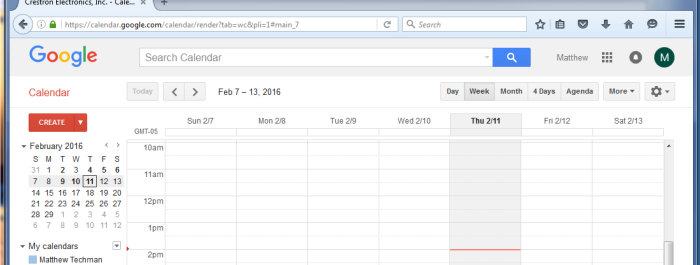
Google Calendar Application - Settings
Calendar Settings Page

NOTE: Typically, room calendars are shared with the service account, as discussed in Set Up Security. However, some customers prefer to allow the service account to impersonate a user with elevated privileges. If impersonation is needed, refer to Appendix B: Use Impersonation in Google Calendar API and skip step 5 in that section.
Calendar Settings Page
