Appendix A: Create Room Resources
This section provides information on how to create room resources in Crestron Fusion® software.
To create room resources:
- Navigate to www.google.com.
- Select the grid icon to open the Google Application menu.
- Select the Admin icon to open the Google Console menu.
- Select Apps to open the Apps page.
- Select G Suite.
- Select the Calendar link to open the Settings for Calendar page.
- Select Resources to open the Resources page.
- Select Create a new resource to create a new room resource.
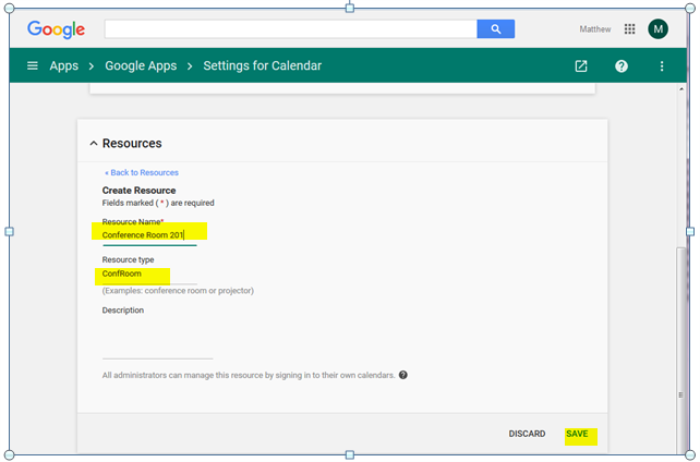
- Enter a Resource Name and Resource type (room name and type.) Typically the room type is "ConfRoom," but any name will work.
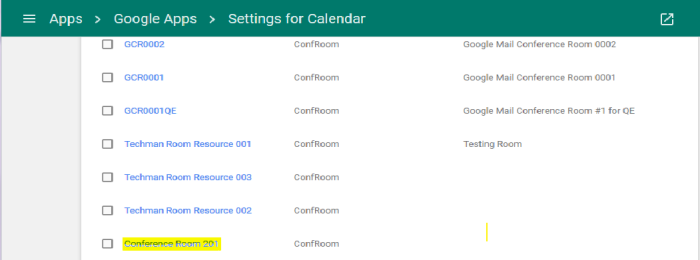
- Select Save. If the configuration is successful, the room is listed on the Settings for Calendar page.
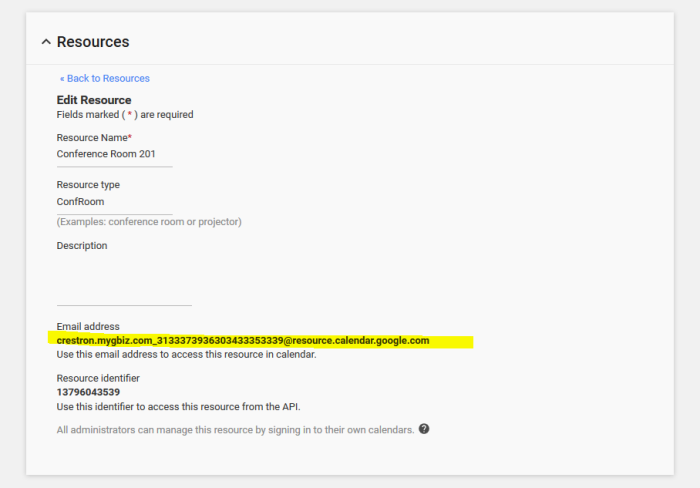
- Select the newly created room resource to display the room details (including the email address). Note the email address of the room resource. This will be used to create a calendar.
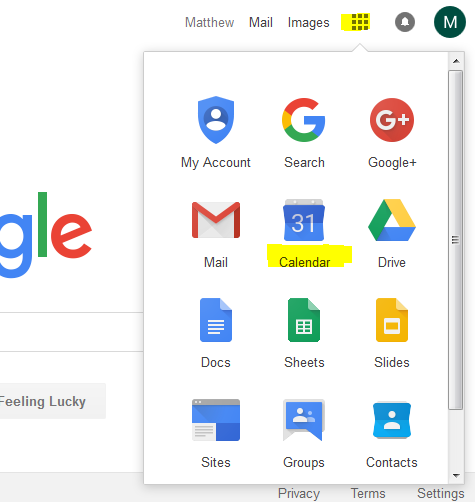
- Select the grid icon and then the Calendar icon.
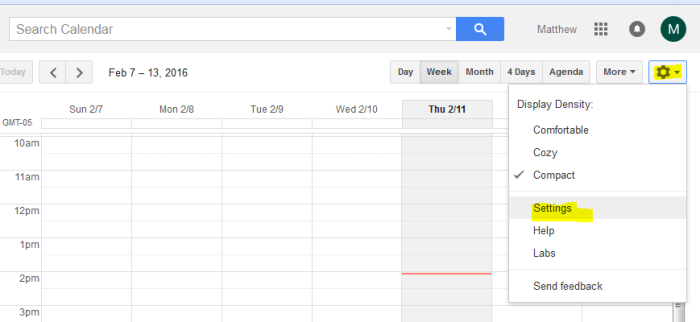
- Select the gear icon and then select Settings to open the Calendar Settings page.
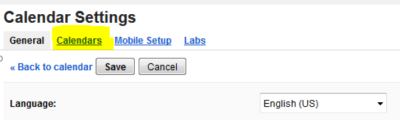
- Select the Calendars tab and then select Create new calendar.
- Enter the email address noted in step 11 in the Person field.
- Select Make changes to events from the Permission Settings drop-down list.
- Select Add Person.
- Enter the name of the room resource into the Calendar Name field. If needed, set the calendar time zone.
- Select Create Calendar.
- Select the grid icon to confirm successful creation of the room resource calendar.
- Select the gear icon and then select Settings to open the Calendar Settings page.
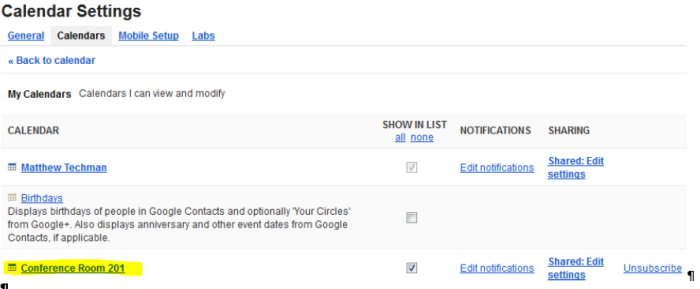
- Select the Calendars link to open the Calendar Settings room list.
- Locate the newly created calendar for the room resource in the list. If the room is listed, the room resource creation was successful. If the room is not listed, review the steps in this section of the document.
Administrator Sign In
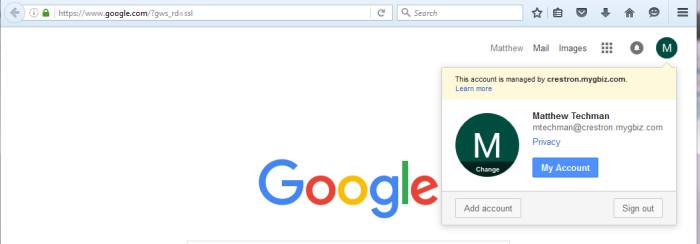
Grid Icon
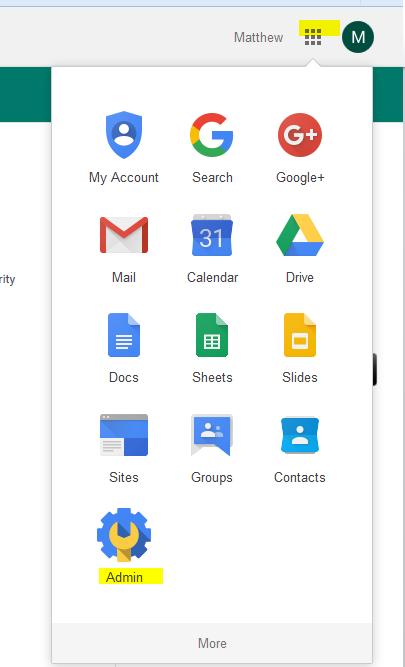
Google Console Menu
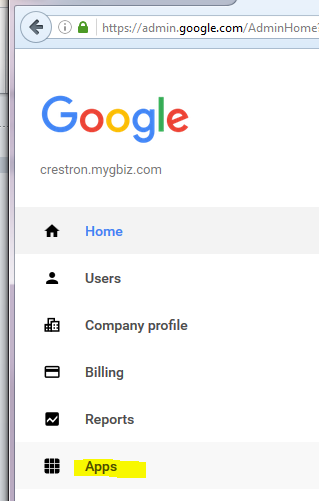
Google Apps Page
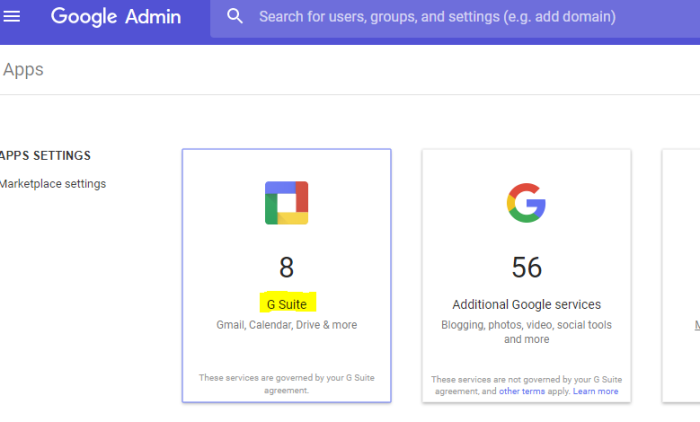
Google Apps Page - Calendar Link
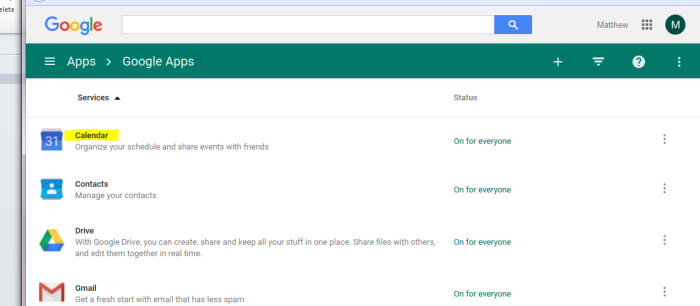
Settings for Calendar Page
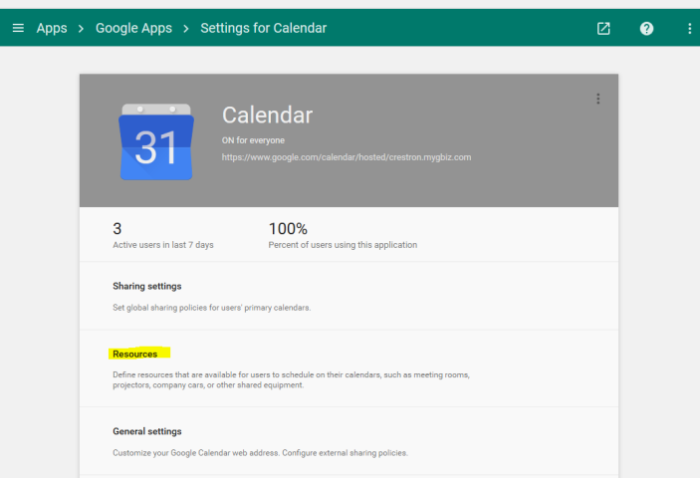
Resources Page
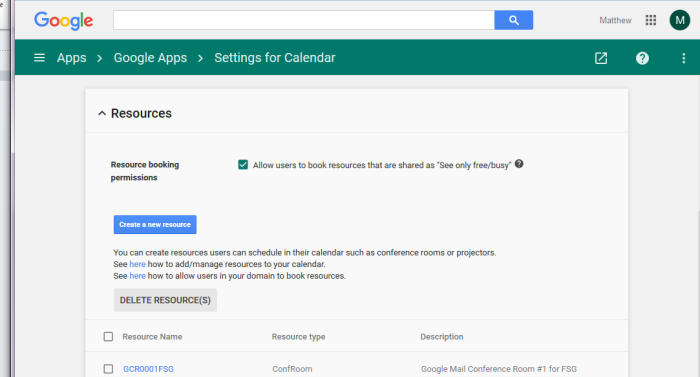
Resources Page - Configuring a Room Resource
Settings for Calendar Page – Room Resource List
Room Details Displayed
Grid and Calendar Icons
Gear Icon and Google Calendar Settings Link
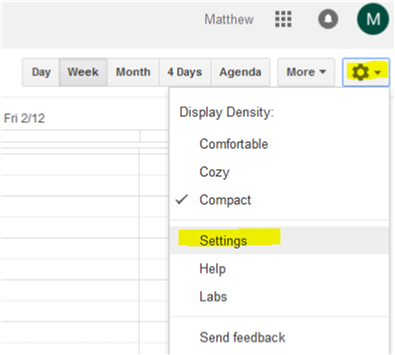
Calendar Settings Page
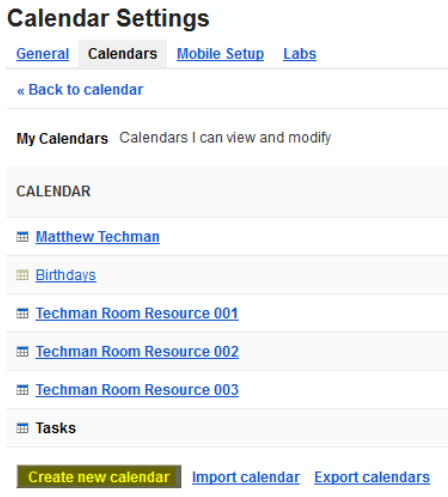
Calendar Sharing Detail Form
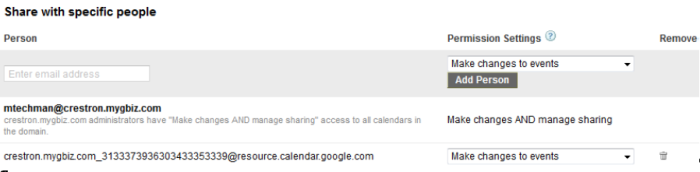
Create New Calendar Form
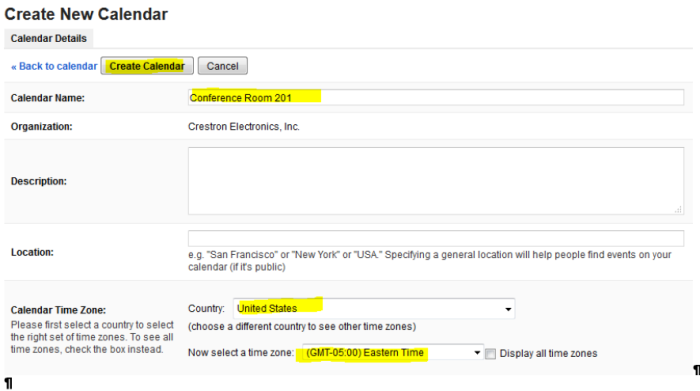
Calendar Settings Page
Calendar Settings
Calendar Settings Room List