Choose New
Project from the File
menu
- or -
Click on New in the Start
Page
-or-
Press 


New
Project dialog opens: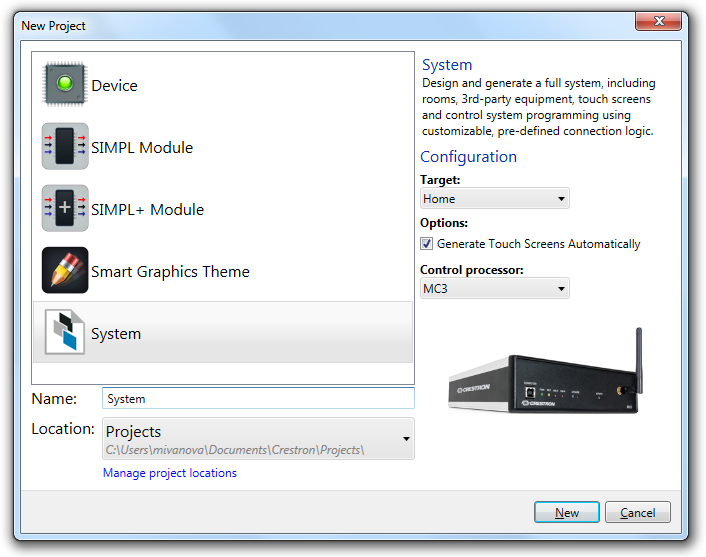
Select System
from the list in the left pane
Select
your target system type from the Target
drop-down list. A Presentation
system would be convenient when building a commercial project consisting
of multiple rooms with advanced AV capabilities, while a Home
systems would be better suited for residential settings.
IMPORTANT: Once created, there
is no way to switch the system's target type!
Check
the Automatically generate Touch
Screen pages check box if you wish Crestron Studio®
to generate pages for your touch screen projects automatically.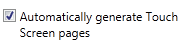
Locate the control processor
for your system and select it from the drop down list on the right.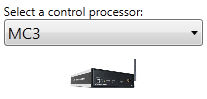
The Name field is pre-populated with a generic name System, followed by a numeral. If desired, you can click in the Name field and write a custom name for your System project.Note that the fully qualified System project name has to be less than 260 characters long (the directory name must be less than 248 characters) and cannot contain the following characters: <, >, ~, |, /, \, ?, *, :, ".
To choose the location for your system, click on the Location list box's drop-down arrow and then select:
