Resource
Library
The
Resource Library is a tool
window used to manage the resources (image and sound files) you add to your Touch Screen Designer
projects.
The toolbar
of the Resource Library consists
of the buttons listed in the table below:
|
Buttons
|
Purpose
|
|

|
Import
Resource(s)
|
|

|
Refresh
|
|

|
Export
Resource(s)
|
|

|
Delete
Selected Resource(s)
|
|

|
Show
Options
|
Resources
in the Resource Library can be
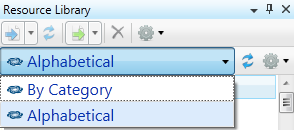
displayed sorted by category (use the layout filter 'By Category') or
in alphabetical order (select the 'Alphabetical' layout filter):
Resources
in the Resource Library should
have unique names. If a resource shares the same name with another resource,
a numeral will be added after the name. If you make changes to your resources,
select them (if all, use 

 ) and click
the refresh button (or press
) and click
the refresh button (or press  ) to update to the changes.
NOTE: Do not import the resource again. The new imported resource will
not overwrite the existing resource!.
) to update to the changes.
NOTE: Do not import the resource again. The new imported resource will
not overwrite the existing resource!.
Importing Resources:
You
can import resources (image or sound files with the following extensions
- .bmp, .jpg,
.png, .gif, .xaml, ..wav,
.mp3) into the Resource Library
by pressing the Import Resource
icon  at the top left
of the Resource Library Tool Window.
at the top left
of the Resource Library Tool Window.
The
Resource Library allows you to import:
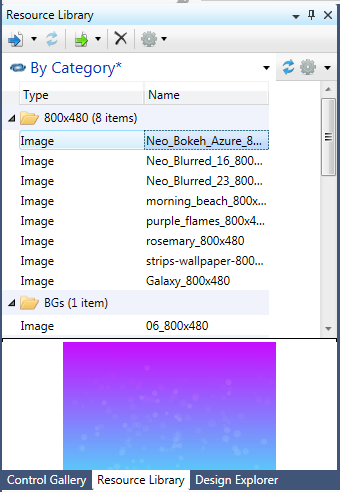
Alternatively,
you can add one or more resources to the Resource
Library by directly dragging and dropping resources selected in
Windows Explorer.
After
an import, the Resource Library
will retain the data structure of any imported folders.
Preview
of the selected image file is displayed in the bottom portion of the Resource Library tool window which
allows you to see the contents of the resource without opening it.
Replacing resources:
NOTE: Crestron Studio® supports
resource replacement only for resources of the same type and exact same
image properties.
-
Select one or more resources in the Resource
Library
-
(optional) Change the settings for the Resource
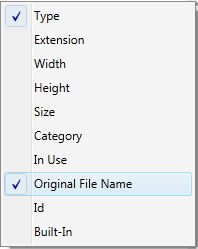
Library to display the Original
File Name column if not visible, by
right clicking the column header and selecting Original
File Name:
-
In the Original File Name column,
copy the folder path of to the resource up to, but not including the
image name.
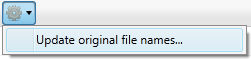
On the Resource Library's Toolbar, click on the Options  icon and select Update original file names...
-
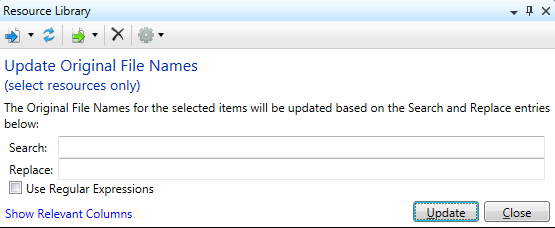
-
Select the desired resources in the Resource
Library
-
Fill in the folder paths to use:
Search
field - Paste (or type in) the folder path selected in step
3.
Replace
field - Paste (or type in) new the folder path where the replacement
resources are located.
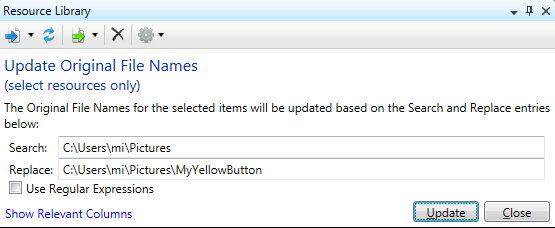
-
Click Update button.
-
Re-select all updated images and click
the Refresh  button from
the Toolbar.
button from
the Toolbar.
-
The resources are replaced and ready for use.